


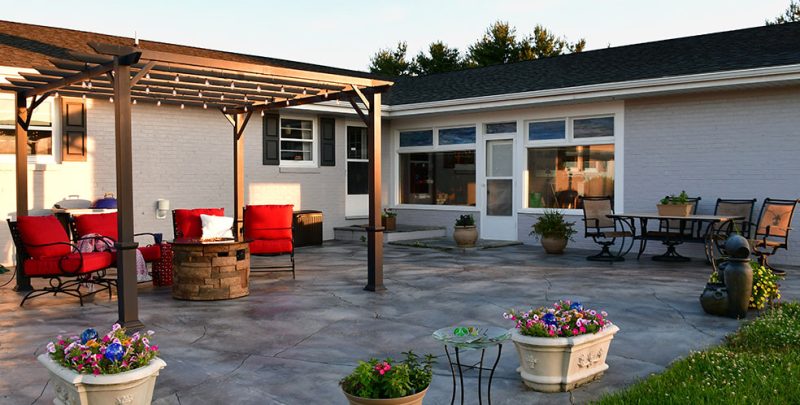
How To Install A Concrete Patio – A 13-Step Guide
Installing a concrete patio is easy, and can add a fair bit of value to your property as well. You can get a patio builder to install a concrete patio, however, if you want to DIY it, here is a complete guide on how you can do it yourself.
Setting Up the Guide Strings
Guide strings, as you might already know, are used to mark the edges of your patio. Drive two stakes at every corner of the concrete patio, keep them 1-foot beyond the actual edge of the patio. Now, you can use Mason’s lines between every stake to create a complete square or rectangle.
Correct the Measurements
After making the square or a rectangle for the concrete patio, you should check the measurements by measuring the square/rectangle diagonally. If the diagonal measurements are equal, then you can proceed, otherwise, adjust the strings to make a proper square or rectangle.
Make a Slope
You need the patio to slope away from your house at 1/8th of an inch per foot. Measure the total amount of slope that you’ll need to make, and mark the stakes accordingly. After doing this, you should move the strings to the desired marks. That is the slope measurement done for you.
Excavate the Area
When excavating, make sure that you extend the sides by 6 inches in order to settle the concrete forms later on. Now, carefully excavate to a depth of 8 inches from the surface. To make the process easy, first dig the sides up to 8 inches, and then remove the internal material.
Use Gravel to Start With
A 2-inch layer of compactible gravel should be placed in the excavated area. Then you should make the gravel surface even before compacting it. Add 2 additional inches and compact again. The surface should remain even.
Make the Form
You can make the concrete form by using lumber and screws. Remember that your concrete slab should fit into the dimensions of fitted lumber. Set the form into the gravel base and make sure it is perfectly square/rectangular. Adjust it a bit if needed.
Securing the Form
Place wood stakes around the form which are at least 2 feet apart and over 3 inches above the ground. Now, lift up the form to around 4 inches and fix it with the stakes using screws. Remember to keep even spacing between the strings and the form.
Pouring the Concrete
Before pouring concrete, use oil on the insides of the form, so that it won’t stick to the concrete. Mix the concrete in a mixer to make a thorough paste, and pour it in the form in piles. Keep adding the concrete until the form is filled up to the required height.
Level the Concrete
Use a long board to level the top layer of concrete that you just poured in. Do the sawing motion to achieve a well leveled concrete surface. Depending on the amount of concrete, you might want to add more, or remove some concrete during the process.
Finish It Nicely
Once the leveling is done, wait until the water on top of the layer dries. Then use a Darby to make the surface smooth. Use a wood float when doing this to repair any faults in the surface and finish it nicely.
Add an Optional Finish
You can add slip resistance and some aesthetic value to the bare concrete by adding a finish like the “Broom” finish. You can simply broom the surface of concrete to achieve this finish. Make parallel lines on the top layer of concrete with a broom to create this finish.
Cover and Cure the Surface
Once the patio is done, all you have to do is to cover and cure the concrete surface to make it hard and long lasting. Once done, cover the surface with a plastic sheeting. Remove the sheeting every day to mist the water on the patio. Doing this every day for around two weeks will make the surface hard.
Finish the Patio
Once you think that the concrete has settled down nicely, you can remove the plastic, the wood form, and the stakes. You should pour other materials like sand in the surrounding of your patio, also, the concrete can be sealed by applying a sealant on top.
That’s it. We recommend to hire a patio contractor Long Island to install it for you as a patio made by experts is better looking and long lasting.
Related articles